In this tutorial, you will learn how to start selling your Magento Products on Walmart via M2E Pro. You will go through the preliminary set-up requirements and configuration of Walmart integration.
Preliminary requirements
Before you start configuring Walmart integration, please ensure that:
- Your M2E Pro version is 6.5.4 or higher. Detailed information on how to install/upgrade your M2E Pro to the latest version can be found here.
- You have a Live Seller Account on Walmart.
If these requirements are met, you may start configuring Walmart integration.
Tip
If you do not have a Seller Account on Walmart, read this article.
Initial set-up wizard
The following step-by-step wizard will help you to complete the basic settings of Walmart integration.
Step 1. License set-up
Provide your contact details. These are the details that will be associated with your M2E Pro Extension Key. Once you complete the step, please click Proceed.

Step 2. Marketplace set-up
Enable the US or/and Canada Walmart sites to sync your Module with the marketplace data. Please wait till the marketplace data is synchronized, then click Proceed.

Tip
At any time, you can enable/disable the Marketplaces, update the marketplace data under Walmart > Configuration > Marketplaces.
Step 3. Account set-up
You need to create an Account to link M2E Pro to your Walmart account on the selected marketplace. Please read more information here. Once the Account is configured, Proceed to the next step.

Tip
At any time, you can edit Account configuration under Walmart > Configuration > Accounts.
Step 4. Product Identifier set-up
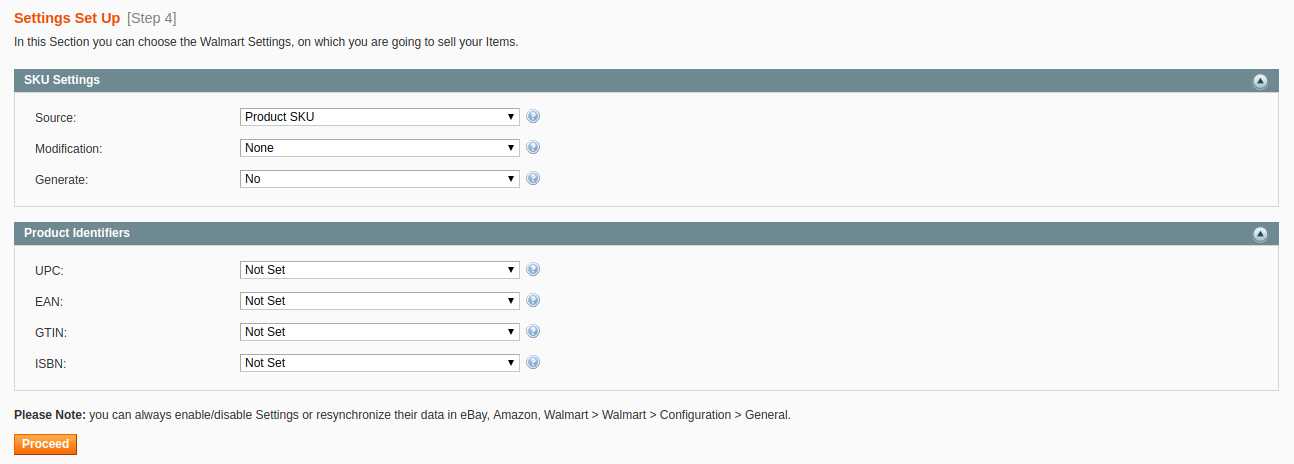
Provide SKU settings. If Item SKU already exists in your Walmart inventory, you can enable the SKU Modification option and select a way of SKU modification:
Prefix – specified value will be added at the beginning of the initial SKU value.
Postfix – specified value will be added at the end of the initial SKU value.
Template – a new SKU value will be generated based on the entered pattern. For example, if the initial product SKU is 123 and your modification template is %value%-567, Walmart Item SKU will be 123-567.
M2E Pro can generate a random SKU value for your Channel Item if you enable the Generate option.
Next, select Product Identifiers which you want to apply on the Channel. You must specify at least one valid and approved Product ID, i.e. GTIN, UPC, EAN, or ISBN. Otherwise, Walmart will not permit to place your offer on their website.
- Product ID (GTIN, EAN, UPC, ISBN) override – the feature allows listing Items on Walmart without UPC/EAN. It will be useful for you if you're selling products with a Private label.
Tip
At any time, you can edit SKU / Product ID settings under Walmart > Configuration > General. Please be advised that these settings affect only the non-listed products.
If you need to change the SKU/Product ID of the already listed products, you can use the Edit tool inside M2E Pro Listing.
Click Proceed to complete the basic configuration:
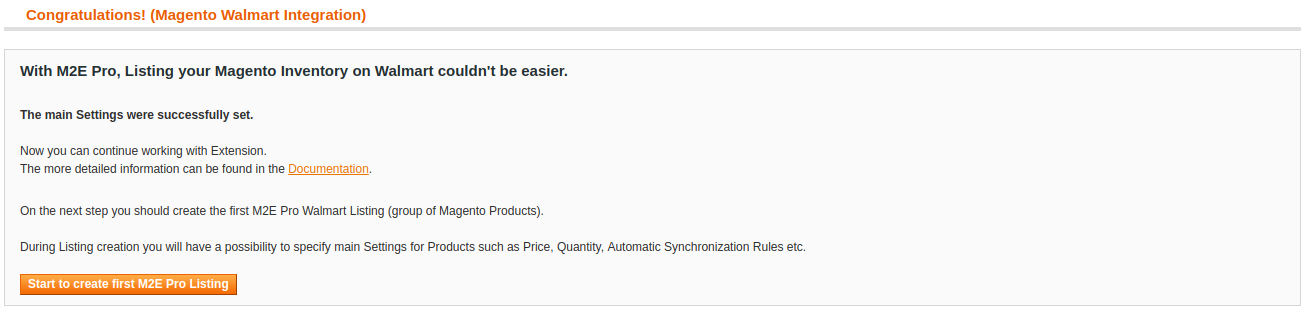
Now you can move forward - prepare your products to be listed on Walmart.
Final configurations
At the final stage, you need to create M2E Pro Listing and place Magento Products into it.
Using M2E Pro Listing you may organize your products into different groups by certain parameters, e.g. product type, brand, promotion event, etc. The product group approach allows you to share the same description, selling, and synchronization settings across all products inside the Listing.
To complete the configuration of Walmart integration, you need to:
- create M2E Pro Listing;
- assign M2E Pro Policies to this Listing, i.e. description, selling, and synchronization settings;
- add Magento Products to M2E Pro Listing;
- define Walmart Category for each selected product.
From this point on, M2E Pro starts managing your products automatically.